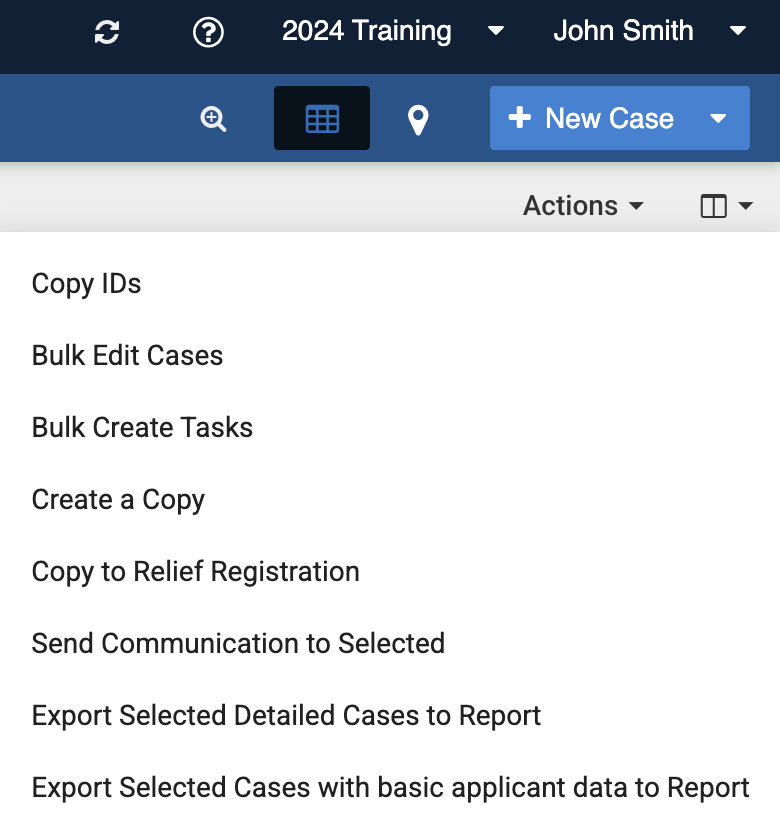
Example Actions Menu in Cases register
Example Actions Menu in Cases register
 or Proceed button
  \

3. If there are additional steps or options, such as confirming fields or filters, complete these and press the Proceed button Proceed button
4. Some bulk actions use a lot of system resources and may be queued (particularly [Export to Report](#export-to-report) and [Generate Merge](#generate-merge)) . You'll see a queued message when this happens. If you want to check the
\

3. If there are additional steps or options, such as confirming fields or filters, complete these and press the Proceed button Proceed button
4. Some bulk actions use a lot of system resources and may be queued (particularly [Export to Report](#export-to-report) and [Generate Merge](#generate-merge)) . You'll see a queued message when this happens. If you want to check the  status while it is being queued you can optionally use the Monitor Progress button.\

5. The bulk action will be performed and you'll be able to access the output
{% hint style="info" %}
Available bulk actions will depend on your user permissions, the register you're using and whether you have selected any items.
{% endhint %}
The following sections outline some of the more common bulk actions available in registers:
### Copy IDs
Copy IDs can be useful in many places where multiple IDs are accepted, such as reports or to [perform a search/filter](/concepts-and-fundamentals/on-a-computer/searching-filtering-and-querying-registers.md) for specific items.
To Copy IDs, simply select the items and run this command to get a list of IDs. This will copy the IDs to your device's clipboard.
The output is in CQL (listing the IDs in square brackets) which you can then paste from your clipboard.
For example the output from the command run on the 3 selected items below would be:
```
id:[38,789,799]
```
status while it is being queued you can optionally use the Monitor Progress button.\

5. The bulk action will be performed and you'll be able to access the output
{% hint style="info" %}
Available bulk actions will depend on your user permissions, the register you're using and whether you have selected any items.
{% endhint %}
The following sections outline some of the more common bulk actions available in registers:
### Copy IDs
Copy IDs can be useful in many places where multiple IDs are accepted, such as reports or to [perform a search/filter](/concepts-and-fundamentals/on-a-computer/searching-filtering-and-querying-registers.md) for specific items.
To Copy IDs, simply select the items and run this command to get a list of IDs. This will copy the IDs to your device's clipboard.
The output is in CQL (listing the IDs in square brackets) which you can then paste from your clipboard.
For example the output from the command run on the 3 selected items below would be:
```
id:[38,789,799]
```
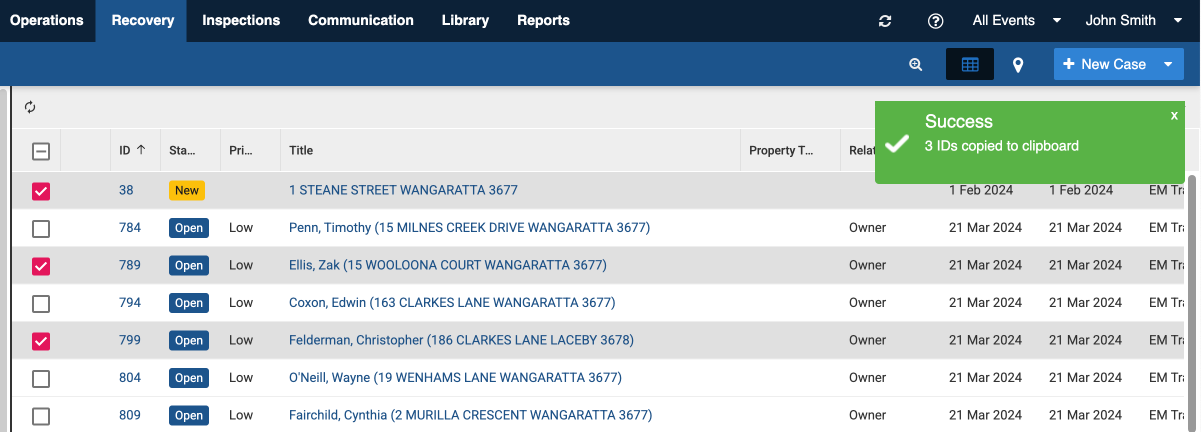
Running the Copy IDs function.

Using the Bulk Edit Action to edit multiple items at once

Set command and Value options for Status field

Adding new tags using Bulk Edit
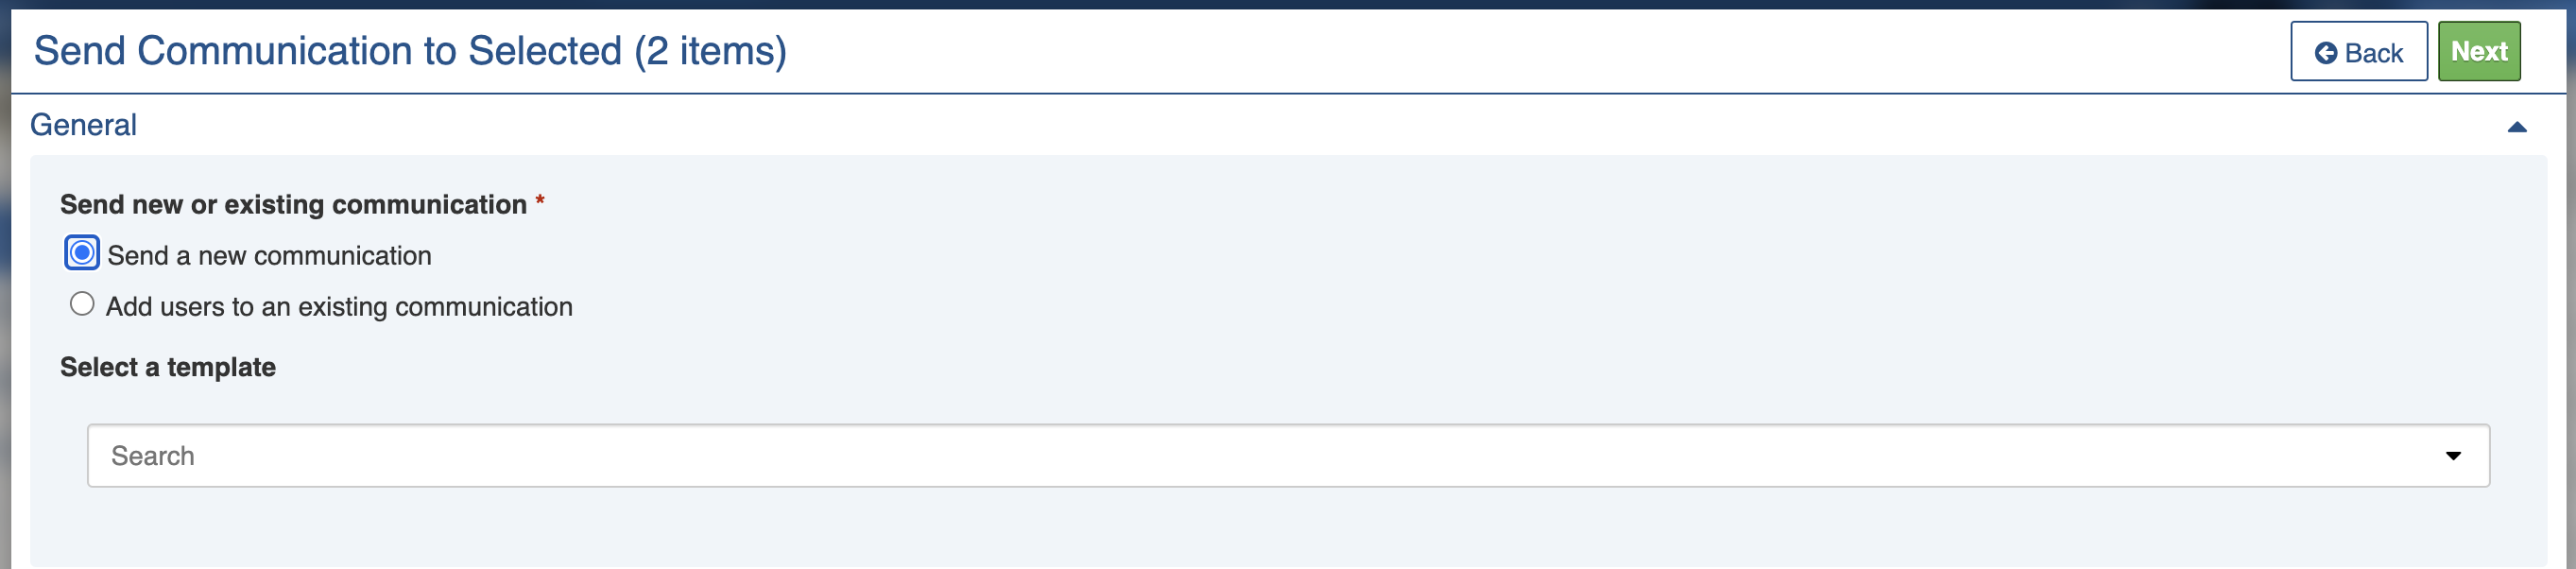
Sending a Communication to contacts in selected items
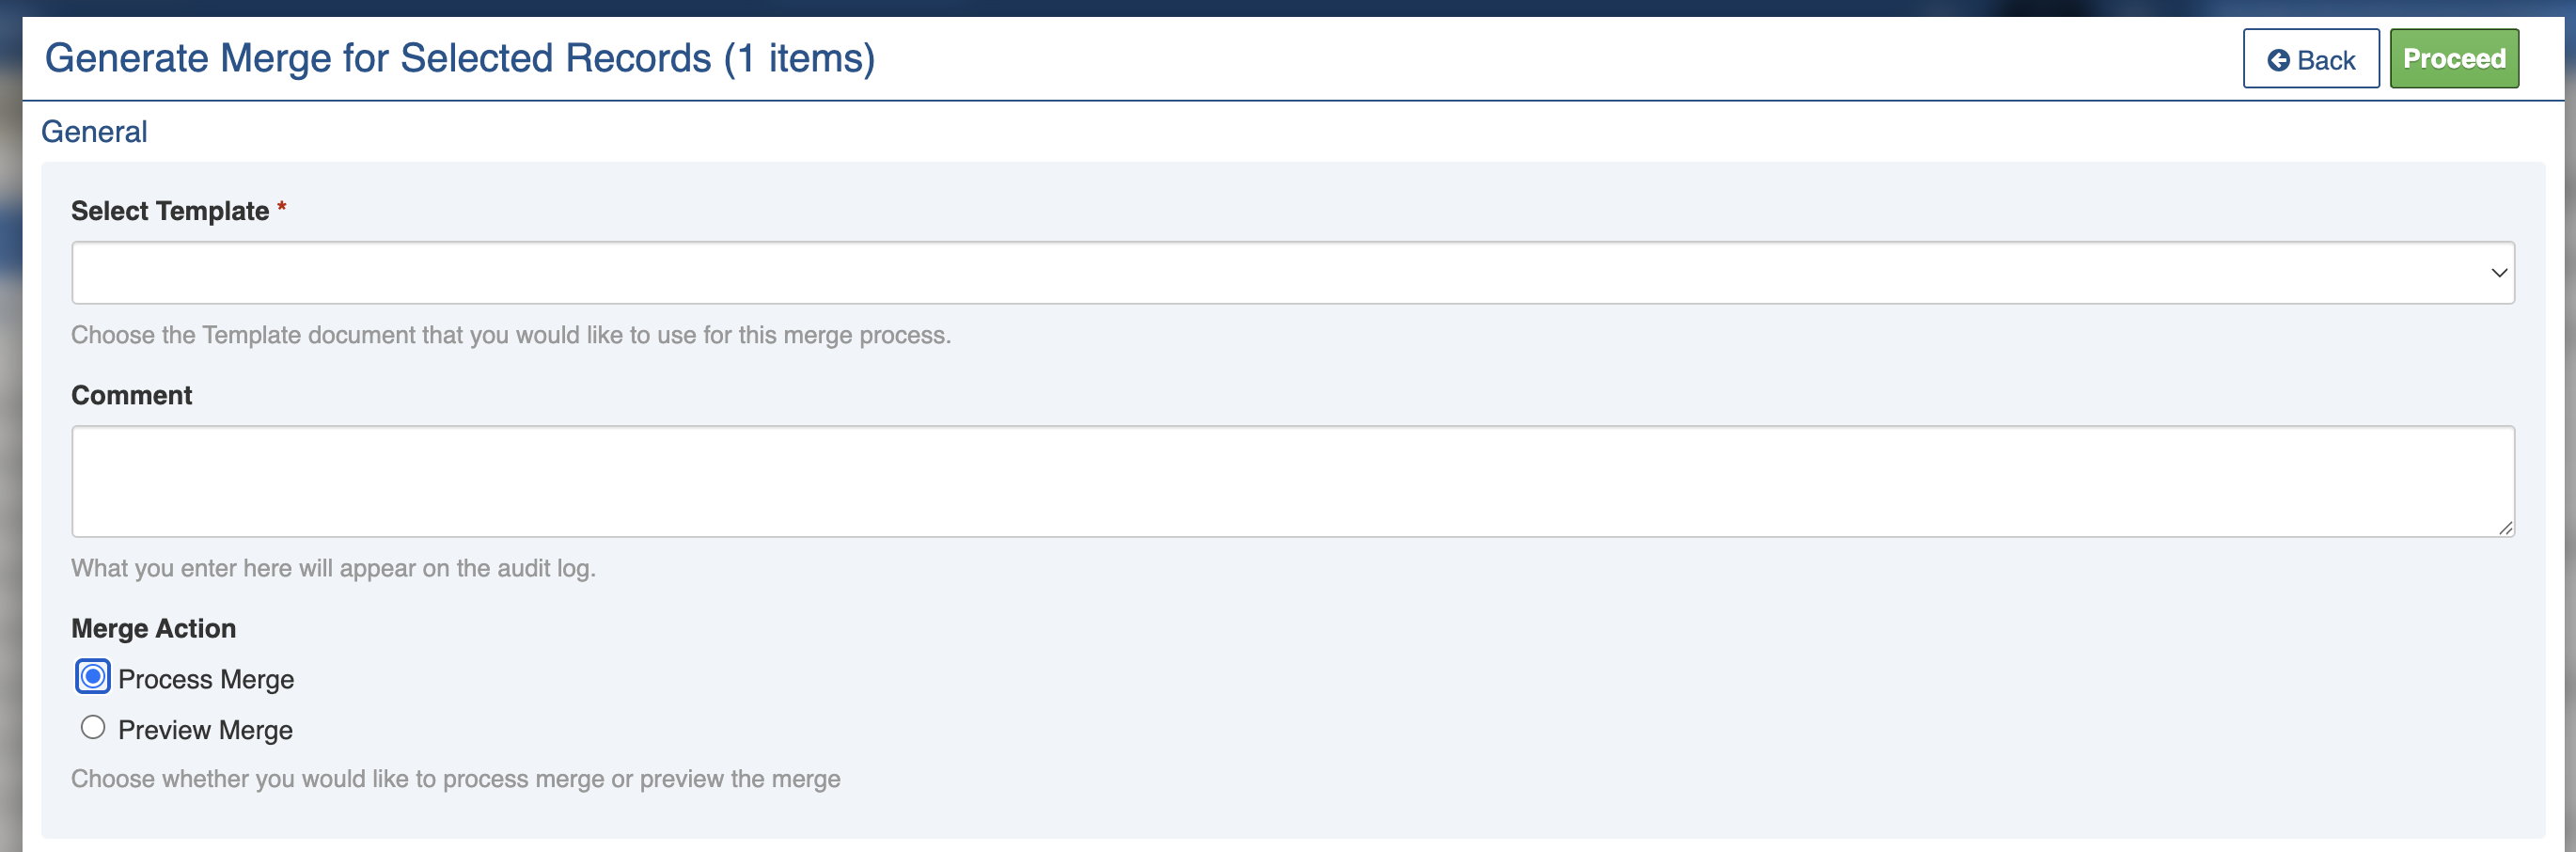
Generate Merge with template selection and Preview Merge option
 button to download a file to your device.
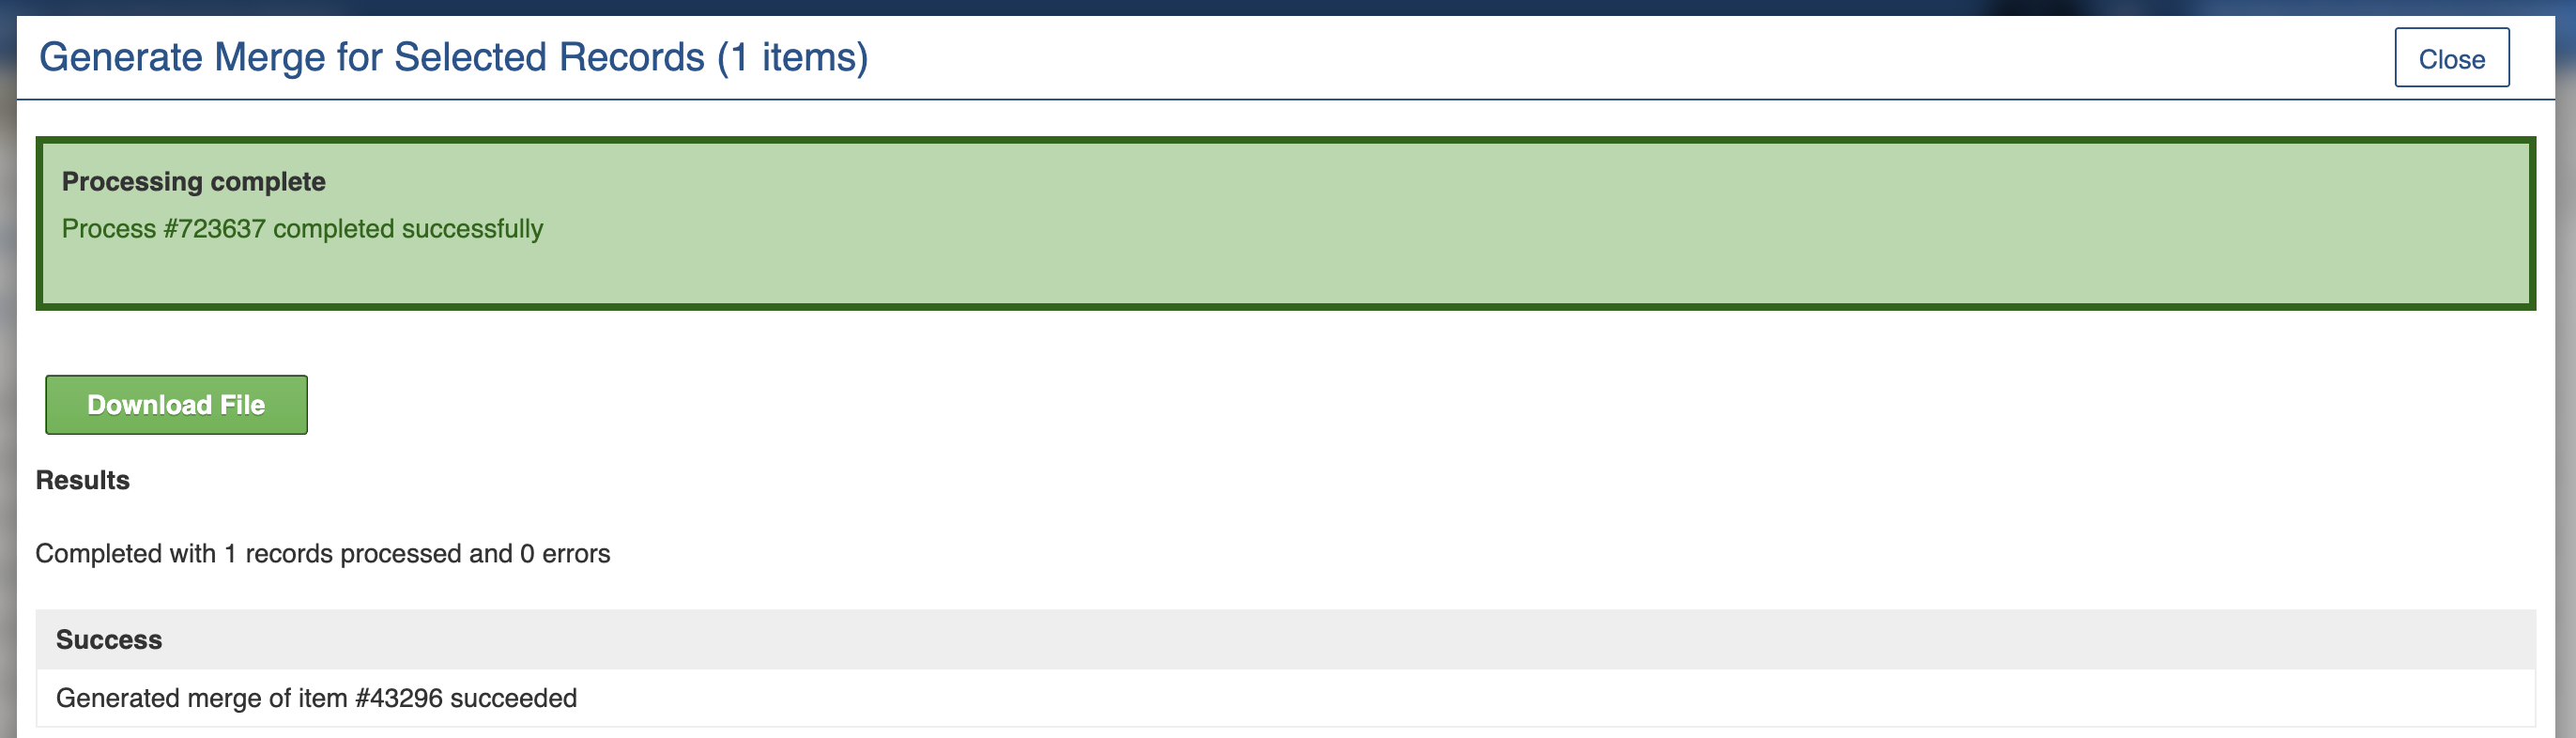
Merge output with download button